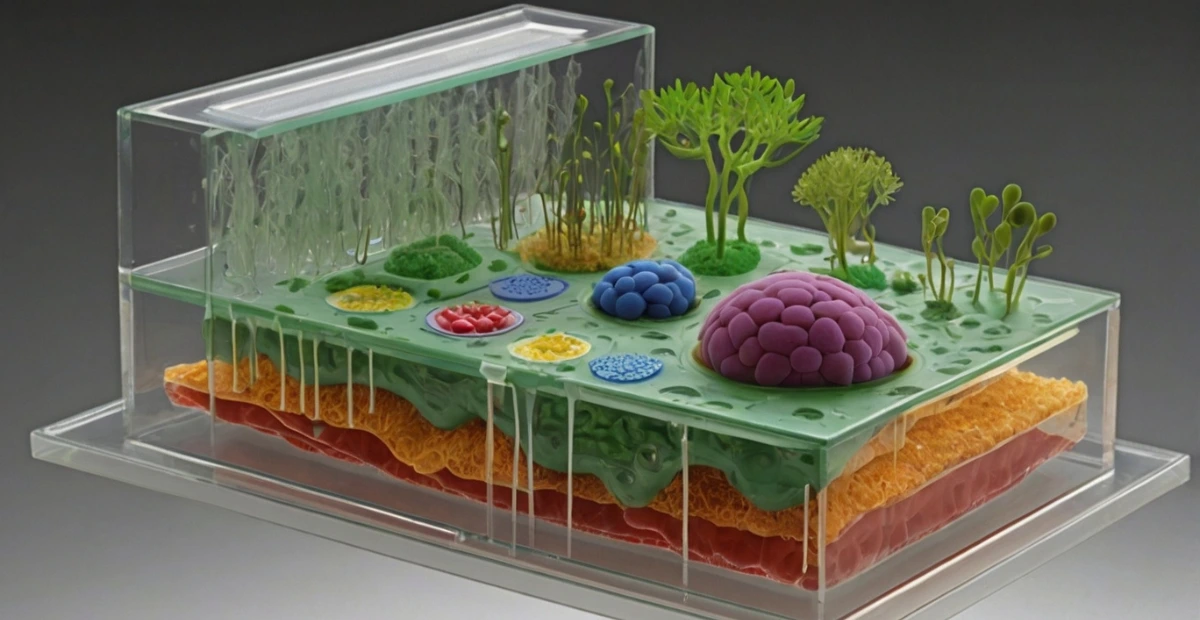
Imagine you’re holding a tiny world in the palm of your hand. It’s a place where each part works together to sustain life, a world that’s too small to see but big enough to spark your curiosity. If you’re a student working on a biology project, or perhaps a teacher looking for an engaging classroom activity, creating a plant cell model is a fantastic way to understand the complexity and beauty of life on a cellular level. It’s not just about crafting a physical object; it’s about connecting with the heart of biology and gaining a deeper appreciation for the microscopic world that surrounds us.
advertisement
In this guide, we will walk you through the process of creating a detailed, accurate, and visually appealing plant cell model. Whether you’re aiming to ace your school project, enhance your understanding of cell biology, or just enjoy the hands-on challenge, these step-by-step instructions will help you achieve a model that’s both educational and creative.
Table of Contents
Materials Needed for Your Plant Cell Model
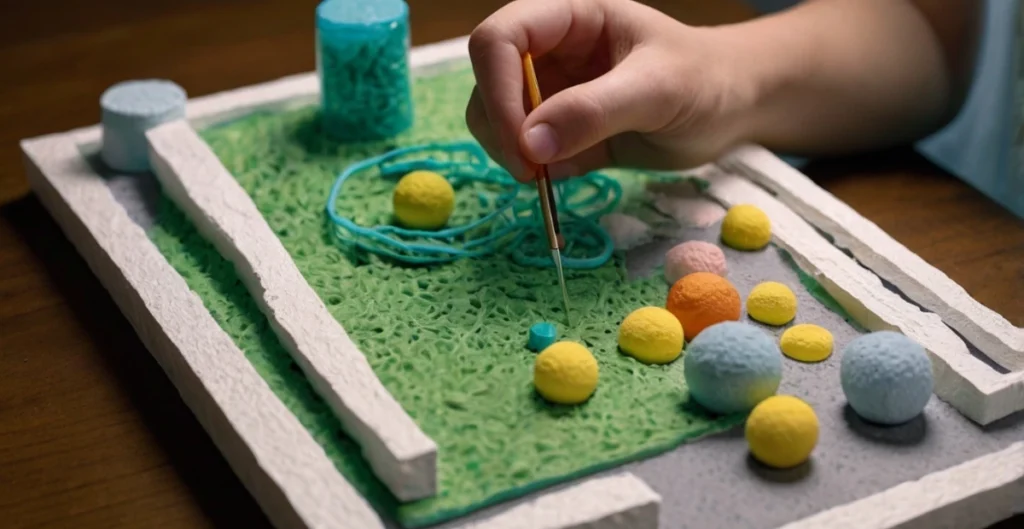
Before diving into the process, you’ll need to gather your materials. The good news is that creating a plant cell model doesn’t require expensive equipment. With a few basic supplies and some creativity, you’ll have everything you need to build a realistic, informative model.
Here’s a list of materials you will need:
advertisement
- Styrofoam or Foam Ball – This will serve as the base structure of your cell. Foam or Styrofoam balls are ideal because they are lightweight and easy to carve into shape.
- Modeling Clay – Use this to sculpt the various organelles within the cell, such as the nucleus, mitochondria, and chloroplasts.
- Colored Paper or Markers – These will be used for labeling the cell components and adding decorative details to your model.
- Scissors and Glue – Essential for cutting, shaping, and assembling the different parts of your plant cell model.
- Cotton Balls – These are perfect for representing the plant cell wall, which provides structure and support.
- Plastic Wrap or Thin Clay – You can use these to create the semi-permeable cell membrane that surrounds the cell.
- Optional Extras (e.g., LED Lights) – Adding LED lights is a fun and creative way to highlight important organelles like the nucleus or chloroplasts.
Step 1: Building the Cell Structure
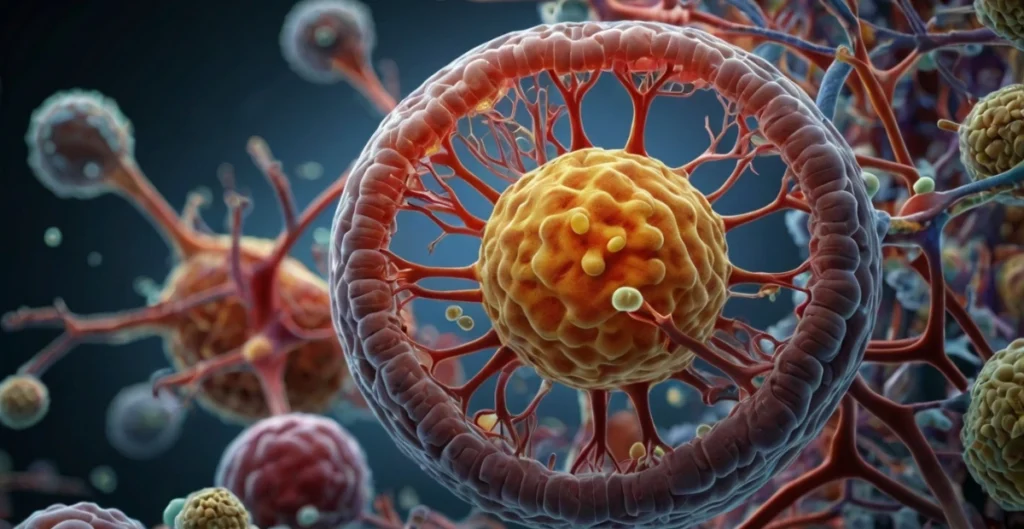
The first step in creating your plant cell model is to build the base structure of the cell. This is the framework that holds everything together, so it’s essential to get this part right.
Start by choosing the shape of your cell. Plant cells typically have a rectangular or square shape, but you can get creative here, as long as you can clearly depict the components inside. For simplicity, you can use a Styrofoam ball as your starting point and carve it into a more rectangular or oval shape using a knife or scissors.
Next, attach the base of the foam (cardboard or thick paper works best) to give your model stability. This ensures your plant cell model remains upright and can be easily displayed. It also helps to provide extra surface area for labeling your cell components later on.
advertisement
Now that your structure is ready, you’re all set to move on to the next step!
Step 2: Crafting the Cell Wall and Cell Membrane
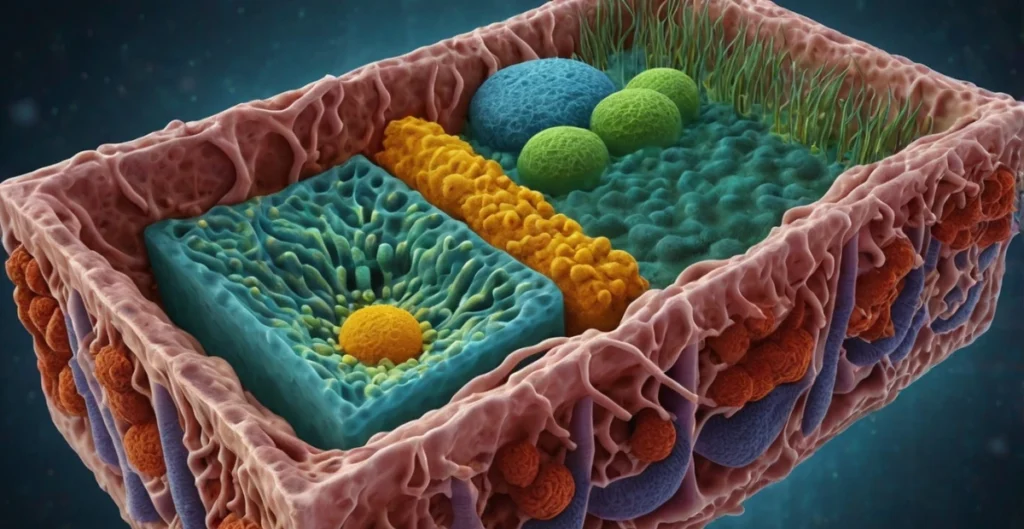
A plant cell is surrounded by two important layers: the cell wall and the cell membrane. Let’s start with the outermost layer – the cell wall.
The Plant Cell Wall
The cell wall is rigid and provides the plant cell with structure and protection. To represent the cell wall, wrap cotton balls around the outer layer of your foam cell. You can tear the cotton balls into smaller pieces and glue them onto the surface of your model, covering the entire exterior. If you’d prefer a more textured look, paper mache is another great option for creating a realistic, sturdy wall. The cotton should be dense enough to mimic the rigid appearance of a plant cell wall.
The Cell Membrane
Inside the cell wall is the cell membrane, a flexible layer that controls what enters and exits the cell. To create this layer, use plastic wrap or thin layers of clay. Gently mold the material around the interior of the cotton ball layer, making sure it’s distinguishable from the cell wall. You’ll want the cell membrane to appear more pliable, as it acts as the protective barrier for the cell while also being semi-permeable.
advertisement
Step 3: Creating the Nucleus and Other Organelles
Now, it’s time to focus on the organelles within your plant cell. These tiny structures perform critical functions that allow the plant cell to thrive. Let’s start with the most important organelle – the nucleus.
The Nucleus
The nucleus is the “control center” of the cell, holding the cell’s genetic material. To craft this important organelle, take a ball of modeling clay and shape it into a sphere or oval. The size of the nucleus will depend on the scale of your model, but it should be large enough to be a central feature of the cell. Place the nucleus toward the center of the cell. You can also create a smaller ball of clay inside it to represent the nucleolus, which is involved in protein synthesis.
Other Organelles to Model
- Mitochondria: These bean-shaped organelles generate energy for the cell. To create mitochondria, form small oval shapes out of modeling clay, and add wavy lines or texture to give them their distinct appearance.
- Chloroplasts: Chloroplasts are essential for photosynthesis. These organelles contain chlorophyll, which gives plants their green color. Use small green beads, green clay, or paint to create chloroplasts. Place them around the cell’s cytoplasm.
- Vacuole: The vacuole stores water and nutrients for the cell. You can represent this by using a small balloon or clear plastic bag filled with water (or just air if you prefer) and place it near the center or side of the model.
- Endoplasmic Reticulum (ER): The ER helps transport materials throughout the cell. Use long, thin strips of clay or paper to create the tubular shape of the rough and smooth ER. Attach them around the nucleus.
- Golgi Apparatus: This organelle packages and distributes proteins. To represent it, stack small flat circles of clay or use pieces of cardboard and arrange them close to the cell membrane.
- Ribosomes: Small but essential, ribosomes are involved in protein synthesis. You can represent these tiny organelles using small beads or tiny dots of clay scattered across the rough ER.
advertisement
Step 4: Assembling the Cell Model
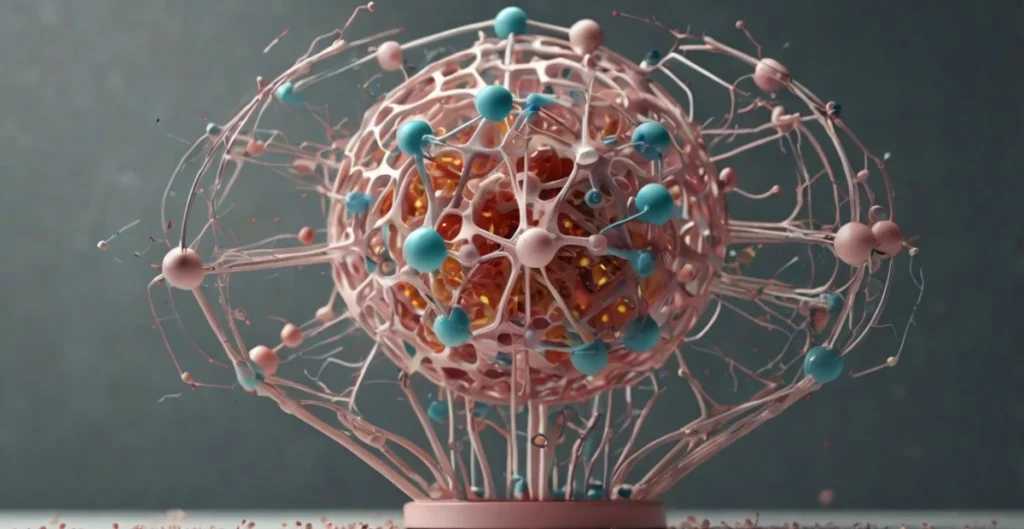
Once all your organelles are sculpted, it’s time to put everything together. The best way to assemble your model is to start from the inside out.
Place the nucleus first, at the center of the cell. From there, position the other organelles in their approximate locations, making sure there’s enough space between each organelle to ensure clarity and readability.
After you’ve arranged everything, glue the organelles into place. For extra realism, you can add color-coded labels next to each organelle. Use colored paper or markers to write the names of each part of the plant cell and briefly describe their function. This labeling will help anyone who views your model understand the cell’s structure at a glance.
Optional: Add Lights for Impact
For an extra touch of creativity, you can incorporate small LED lights to highlight key parts of the cell, like the nucleus or chloroplasts. These lights will add a visually striking effect, making your model stand out even more.
Step 5: Final Touches and Displaying Your Model
Now that your model is assembled, it’s time to add the final touches.
- Texturing: Use a fine brush to add texture to the clay or paint on additional details to make certain organelles more realistic.
- Sealing: To preserve your model, consider coating it with a clear sealant, such as spray adhesive, especially if you’ve used fragile materials like cotton balls or paper.
- Displaying: Place your plant cell model inside a transparent display box to protect it from dust and accidental damage. You could also add a small description plaque beside the model to provide context.
Why Creating a Plant Cell Model is a Valuable Learning Experience
Creating a plant cell model is more than just a fun project; it’s a learning opportunity that can deepen your understanding of cellular biology. Through the process of building, you’ll gain insights into the structure and function of plant cells, which will enhance your overall comprehension of life sciences.
The hands-on experience of crafting each part of the plant cell also fosters creativity and critical thinking. You’re not just memorizing facts; you’re engaging in a process that makes the information come to life. Whether you’re a student, a teacher, or simply someone passionate about biology, creating a plant cell model is an enriching experience that makes learning both enjoyable and effective.
FAQ: Frequently Asked Questions About Creating a Plant Cell Model
advertisement
- What materials are best for building the cell wall of a plant cell model?
- For the cell wall, cotton balls, paper mache, or even fabric strips work best. Each material offers a unique texture and look, but cotton balls are a popular choice because they’re easy to use and give a realistic, fibrous appearance.
- Do I need to include every organelle in my plant cell model?
- While it’s ideal to include the main organelles like the nucleus, chloroplasts, and mitochondria, you can simplify the model by focusing on the most important ones. However, the more detail you add, the more educational value your model will have.
- Can I use edible materials to create my plant cell model?
- Yes, using edible materials can add a fun twist to your model! For example, you can use Jell-O for the cytoplasm, licorice for the endoplasmic reticulum, or gummy candies for chloroplasts. Just remember that edible materials may not last as long as non-edible ones.
- How can I make my plant cell model look more realistic?
- Focus on accuracy with colors and proportions. Use vibrant shades to represent chloroplasts, and texture for the cell wall and membrane. Label each organelle clearly, and add additional creative elements like small LED lights to make the model pop.
Conclusion: Celebrate Your Creation of a Plant Cell Model
Creating a plant cell model is a rewarding project that provides both educational value and creative satisfaction. As you carefully craft each component of the cell, you’ll not only gain a deeper understanding of biology but also experience the joy of seeing your work come to life. Whether you’re building a model for school, for fun, or as part of a teaching demonstration, the knowledge and skills you gain from this project will last far beyond the classroom. So grab your materials, unleash your creativity, and start bringing the microscopic world of plant cells to life today!

