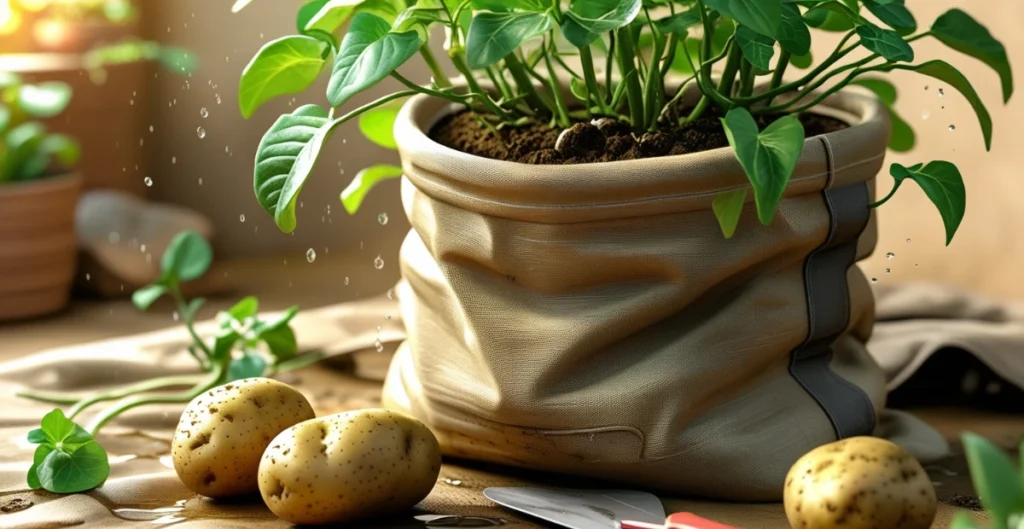
There’s something uniquely satisfying about harvesting your own food. The anticipation as you dig through soil to reveal golden treasures feels like uncovering nature’s hidden gems. And the best part? You don’t need a sprawling backyard to experience this joy. By growing potatoes in bags, you can transform even the smallest space into a productive garden. In this comprehensive guide, you’ll learn everything you need to know about how to grow potatoes in bags successfully. Let’s get started on this rewarding journey.
advertisement
Table of Contents
Why Grow Potatoes in Bags?

Growing potatoes in bags offers an accessible and innovative solution for home gardeners. Here’s why it’s worth considering:
- Space-saving: Perfect for small gardens, balconies, or patios.
- Easier maintenance: Manage soil, water, and pests more effectively.
- Convenience: Portable and mess-free, making it easy to move your plants to sunnier spots.
- Fun for all ages: Watching your potatoes grow can be an educational and enjoyable activity for kids and adults alike.
advertisement
By the time you finish this guide, you’ll feel confident and excited to grow your first batch of potatoes in bags.
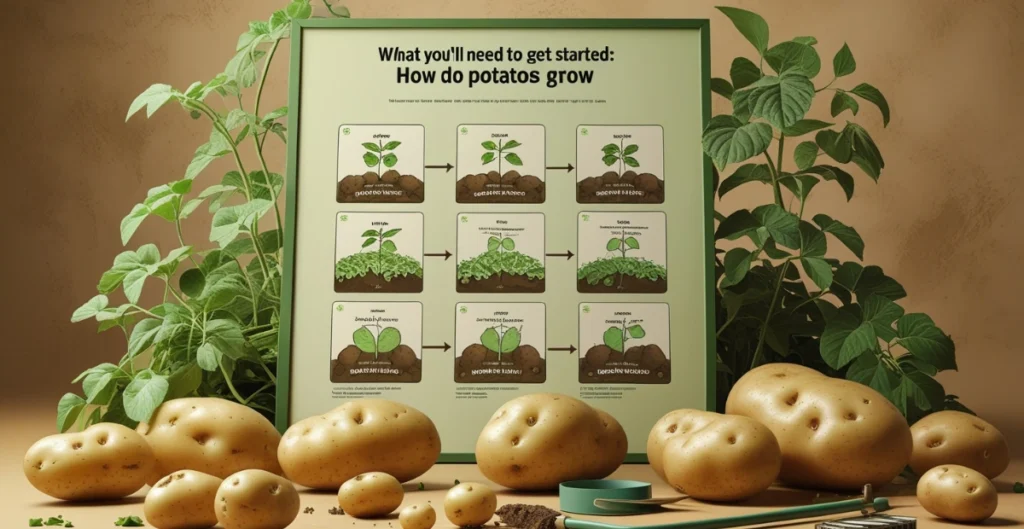
What You’ll Need to Get Started

Materials List
Before you dive in, gather the following essentials:
- Grow Bags: Fabric grow bags work best due to their excellent drainage and aeration. Alternatively, you can use large reusable shopping bags or sturdy sacks.
- Seed Potatoes: Purchase certified seed potatoes to avoid diseases often carried by store-bought potatoes.
- Soil: Opt for loose, nutrient-rich soil or a mix of compost and garden soil.
- Fertilizer: Use a high-potassium fertilizer for optimal growth.
- Tools: A watering can, gloves, and a small spade are helpful but optional.
With your supplies ready, you’re set to begin.
advertisement
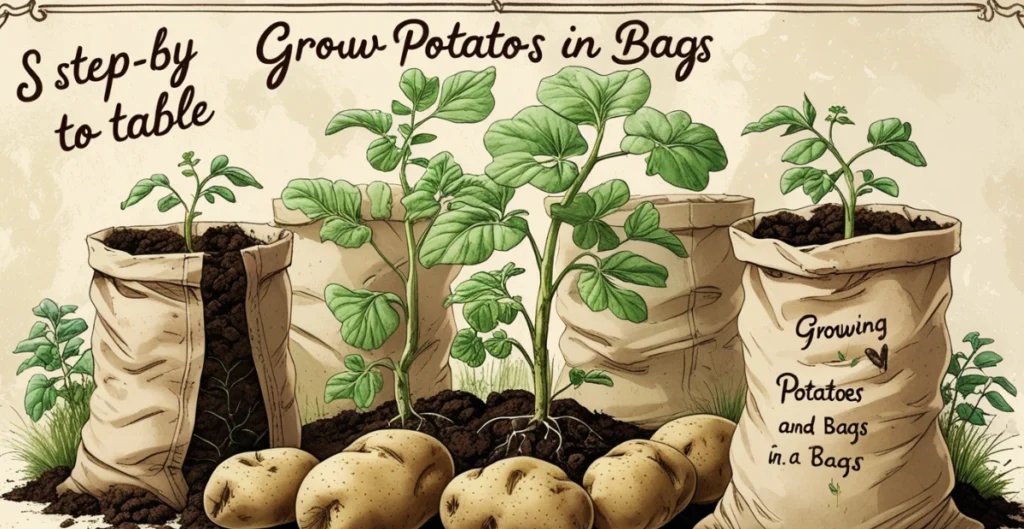
Step-by-Step Process for Growing Potatoes in Bags

Step 1: Choosing the Right Potatoes
Not all potatoes are created equal. Start by selecting seed potatoes—these are specifically grown for planting and free from harmful pathogens. Depending on your climate and taste preference, consider varieties like Yukon Gold, Red Pontiac, or Russets.
Tips for Success:
- Inspect seed potatoes for sprouts or “eyes.” These are essential for growth.
- For small bags, choose compact potato varieties.
Step 2: Preparing Your Bag
Preparation is key to ensuring your potatoes thrive. If you’re using a bag without drainage holes, cut a few small holes at the bottom to prevent waterlogging. Then, fill the bag with 6 inches of soil, leaving plenty of room for adding more as the plants grow.
Step 3: Planting the Seed Potatoes
- Cut large seed potatoes into smaller pieces, ensuring each piece has at least one “eye.” Allow them to dry for a day to reduce the risk of rotting.
- Place the potato pieces in the soil, eyes facing upward, about 6 inches apart.
- Cover with 4–6 inches of soil.
advertisement
Step 4: Caring for Your Potato Plants
- Watering: Keep the soil consistently moist but not soggy. Overwatering can lead to rot.
- Hilling: As the plants grow, add more soil to cover the lower stems and leaves. This encourages tuber production and prevents sunlight from turning potatoes green.
- Fertilizing: Feed your plants every two weeks with a potassium-rich fertilizer to support healthy growth.
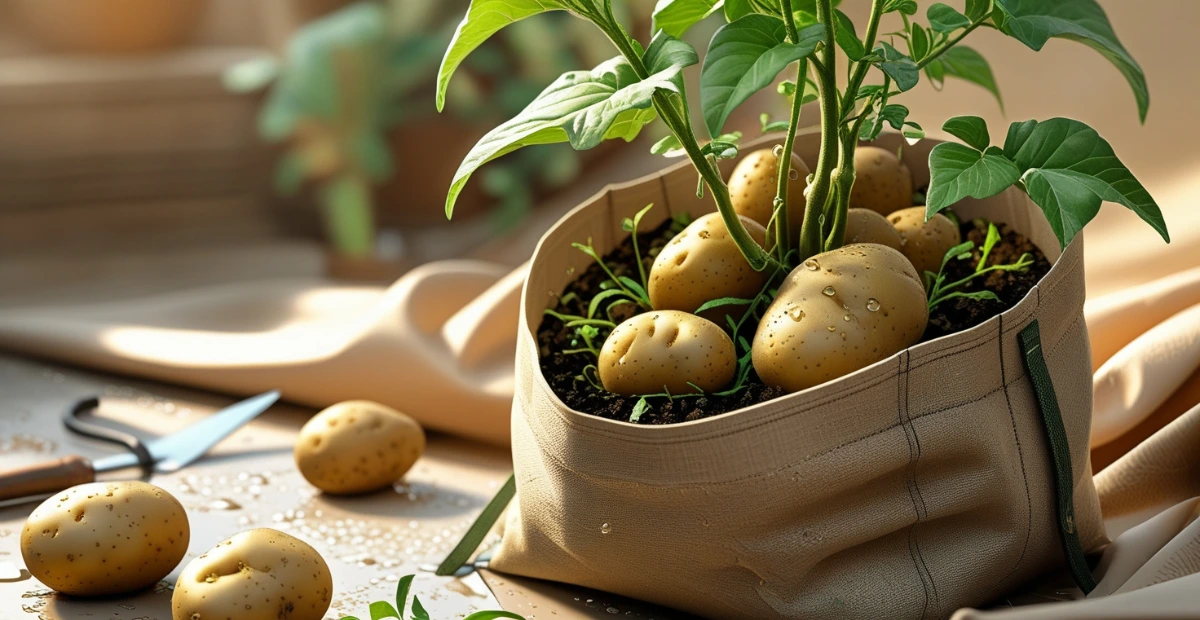
Step 5: Harvesting Your Potatoes
Harvesting is the most exciting part of the process. Here’s how to know your potatoes are ready:
- Signs of readiness: Once the foliage turns yellow and dies back, your potatoes are ready to harvest.
- How to harvest: Tip the bag over onto a tarp or ground, and sift through the soil to find your potatoes.
Store your freshly harvested potatoes in a cool, dark, and dry place to maximize their shelf life.
advertisement
Common Issues and How to Avoid Them
Even with careful planning, you might encounter a few challenges. Here’s how to address them:
Pests
- Aphids and Wireworms: Use natural remedies like neem oil or insecticidal soap to manage infestations.
- Preventive measures: Rotate your crops yearly to disrupt pest cycles.
Diseases
- Blight: Choose disease-resistant varieties and avoid overhead watering to minimize risks.
- Rot: Ensure proper drainage in your grow bags to prevent water buildup.
Watering Problems
- Overwatering: Symptoms include yellowing leaves and soggy soil. Reduce watering frequency.
- Underwatering: If leaves wilt or soil feels dry, increase watering.
Tips for Maximizing Your Potato Yield
advertisement
- Use high-quality seed potatoes to ensure robust plants.
- Add soil gradually as plants grow to encourage tuber development.
- Place bags in a sunny spot, as potatoes need 6–8 hours of sunlight daily.
- Avoid overcrowding by planting only 3–4 potatoes per bag.
Recipe Ideas Using Freshly Harvested Potatoes
Once you’ve harvested your potatoes, it’s time to enjoy them. Here’s a classic recipe to try:
Classic Mashed Potatoes Recipe
| Ingredients | Quantity |
|---|---|
| Fresh potatoes | 1 kg |
| Butter | 50 g |
| Milk | 100 ml |
| Salt and pepper | To taste |
- Peel and chop the potatoes into equal-sized pieces.
- Boil them in salted water until fork-tender.
- Drain and mash with butter and milk.
- Season with salt and pepper to taste.
- Serve warm and enjoy!
FAQ Section
Can potatoes grow in any type of bag?
While most bags can be used, breathable fabric grow bags are ideal for providing proper drainage and aeration.
advertisement
How much sunlight do potatoes need?
Potatoes thrive with 6–8 hours of direct sunlight each day.
How long does it take to grow potatoes in bags?
It typically takes 70–90 days for potatoes to be ready for harvest, depending on the variety.
Can I reuse the soil from my potato bag?
Reusing soil is possible, but it’s best to rotate crops and amend the soil with fresh compost and nutrients before planting again.
Start Your Potato Growing Adventure Today!
Growing potatoes in bags is an easy and rewarding project for gardeners of all experience levels. Whether you have a tiny balcony or a spacious backyard, this method ensures fresh, homegrown potatoes at your fingertips. So, what are you waiting for? Gather your supplies, follow the steps outlined in this guide, and enjoy the satisfaction of harvesting your very own crop. Don’t forget to share your potato-growing journey in the comments—we’d love to hear from you!


