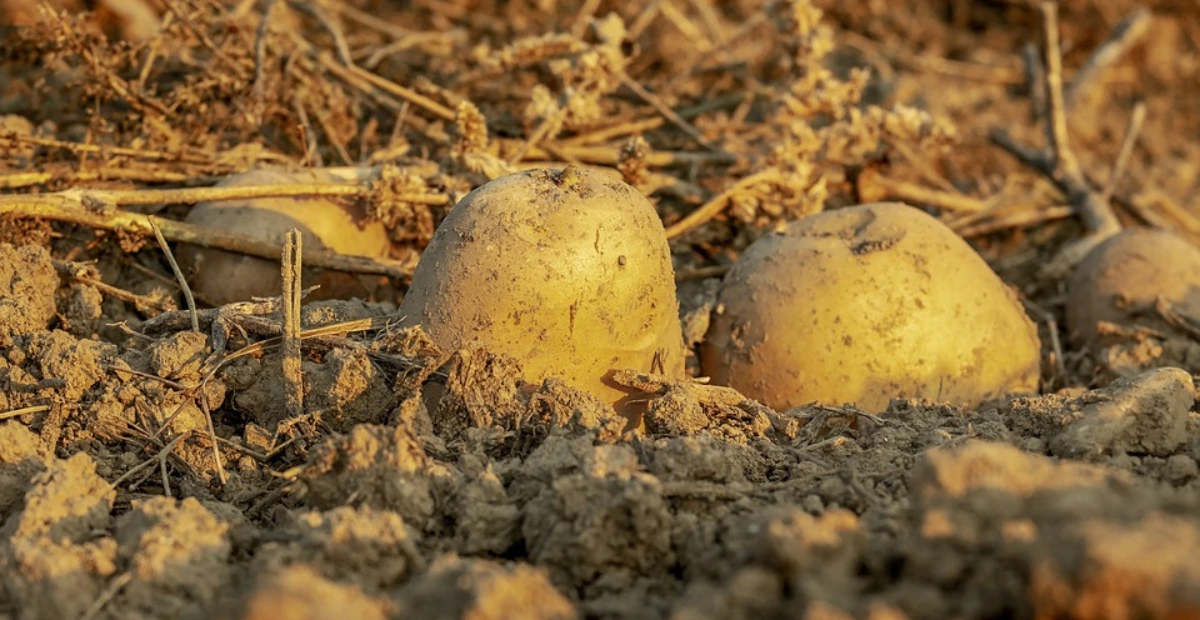
There’s something immensely satisfying about growing your own food, especially potatoes. Whether you’re a seasoned gardener or a first-time grower, potatoes are among the easiest and most rewarding crops to cultivate. Their versatility in the kitchen is unmatched—from mashed potatoes to crispy fries—and growing them at home ensures you have a fresh supply just when you need it.
advertisement
In this comprehensive guide, you’ll learn everything you need to know about growing potatoes, from selecting the right variety to harvesting and storing your crop. By following these essential tips, you’ll set yourself up for a successful potato harvest that will have you reaching for your gardening tools year after year.
Table of Contents
Understanding Potatoes: Types and Varieties to Choose
Different Potato Varieties for Different Needs
advertisement
Before you dig into the dirt, it’s important to understand that not all potatoes are created equal. The variety you choose will depend on your growing conditions, the climate in your area, and what you plan to do with your harvest. There are three main categories of potatoes: early varieties, main crop varieties, and specialty types like fingerlings.
Early Varieties
If you want to enjoy a quick harvest, early varieties are the way to go. These potatoes mature in about 70 days, allowing you to enjoy a fresh crop within a couple of months of planting. Varieties like ‘Rocket’ and ‘First Early’ are excellent for quick-growing potatoes. They’re perfect for gardeners who don’t want to wait too long to dig up their crop.
Main Crop Varieties
advertisement
Main crop potatoes take longer to mature, usually between 90 to 120 days. However, these varieties tend to produce higher yields, which can be beneficial if you’re planning to stock up for the winter months. Popular main crop varieties include ‘Maris Piper,’ ‘King Edward,’ and ‘Desiree.’ These potatoes are ideal for those who have space for a longer growing season and are looking for a larger harvest.
Fingerling Potatoes
For something a little different, consider growing fingerling potatoes. These small, elongated potatoes come in a variety of colors and flavors, making them a unique addition to your garden. Varieties like ‘Russian Banana’ and ‘Rose Finn Apple’ add diversity to your crop and are a treat for culinary enthusiasts.
By selecting the right variety based on your needs and climate, you’ll set yourself up for a successful potato harvest.
Preparing Your Soil for Potato Planting
advertisement
Potatoes are known for their ability to grow in a variety of soil types, but they thrive best in well-draining, loose soil. The key is to prepare the soil in advance to ensure healthy, productive plants. Here’s how to get your soil ready for planting.
Test Soil pH
Potatoes prefer slightly acidic soil with a pH between 5.8 and 6.5. Before planting, it’s worth testing your soil’s pH to ensure it’s within this range. If your soil is too acidic, you can add lime to raise the pH, or if it’s too alkaline, you can amend it with sulfur.
Add Organic Matter
One of the best things you can do for your soil is to improve its structure by adding organic material. Whether it’s compost, well-rotted manure, or leaf mold, incorporating organic matter into your soil will improve its texture and provide essential nutrients for healthy potato growth. It’s also important to ensure your soil is loose and well-aerated, as compacted soil can stunt tuber growth.
Prepare the Planting Area
Potatoes need plenty of room to spread their roots and grow. You can plant them directly in the ground, in raised beds, or in containers—just make sure you have at least 12 inches of soil depth. To plant potatoes in rows, space them 12 inches apart with about 3 feet between each row to give your plants room to grow and prevent overcrowding.
advertisement
How to Plant Potatoes for Maximum Yield
Planting potatoes correctly is crucial to ensuring a successful harvest. Here are some steps to follow that will give your potatoes the best chance of thriving.
Chitting Potatoes
Chitting potatoes is the process of encouraging seed potatoes to sprout before planting them in the ground. Start this process about two to four weeks before your planting date. Place your seed potatoes in a cool, bright location with the “eyes” facing upward. This will allow them to develop strong shoots, which will then grow into healthy plants when planted in the soil.
Planting Depth
When it comes time to plant, ensure you dig a trench that’s about 4 to 6 inches deep. This will give your seed potatoes enough space to develop their tubers. You can also mound the soil around the plants as they grow, a technique known as “hilling,” which helps protect the developing tubers from sunlight and promotes more growth.
Spacing and Arrangement
For the best results, plant your seed potatoes 12 inches apart, with 3 to 4 feet between each row. The space between the plants ensures they have enough room to spread out and develop large, healthy potatoes. Be sure to place the sprouted eyes of the potatoes facing up in the soil for optimal growth.
advertisement
Watering and Fertilizing: Keeping Your Potatoes Healthy
Potatoes require a consistent supply of water and nutrients throughout their growing season to produce a high-quality crop. Here are the key things to keep in mind regarding watering and fertilizing.
Watering Needs
Potatoes need consistent moisture, especially when they are flowering and forming tubers. Ideally, you should aim to provide your plants with about 1 to 2 inches of water per week. Deep watering is better than frequent shallow watering, as it encourages roots to grow deeper into the soil, helping the plants better withstand dry spells.
Avoid waterlogging the soil, as potatoes are susceptible to rot if the roots are too wet. Mulching around the base of your plants will help retain moisture and keep the soil temperature stable.
Fertilizing
Potatoes are heavy feeders, so providing them with the right nutrients is essential. Use a balanced fertilizer with a formula that’s higher in potassium and phosphorus but lower in nitrogen. Too much nitrogen can lead to lush foliage but poor tuber development. Apply the fertilizer before planting and once more when the plants begin to flower for best results.
Dealing with Common Potato Pests and Diseases
Potatoes are generally easy to grow, but they can be susceptible to certain pests and diseases. Here’s how you can protect your crop from common threats.
Pests
advertisement
- Colorado Potato Beetles: These insects can defoliate potato plants in a matter of days. To control them, remove them manually or use an organic pesticide like neem oil.
- Aphids: These tiny insects feed on the leaves and stems of your potato plants, weakening them over time. You can manage aphid infestations by encouraging beneficial insects like ladybugs, or using insecticidal soap.
Diseases
- Blight: Blight is one of the most common and destructive diseases for potatoes. Symptoms include black spots on the leaves and stems, which spread rapidly. To prevent blight, rotate crops yearly and avoid overhead watering, which encourages the disease.
- Scab: Potato scab is a bacterial infection that causes rough, blemished skin on your potatoes. It thrives in alkaline soils, so make sure your soil pH is within the ideal range.
Preventive Measures
- Crop Rotation: To minimize the risk of soil-borne diseases, rotate your potato crop every year, ideally planting them in a new spot each time.
- Regular Inspections: Check your potato plants regularly for signs of pests or disease, and remove any affected leaves or tubers immediately to prevent the spread.
Harvesting Your Potatoes: Knowing When to Dig
The moment you’ve been waiting for: harvesting your potatoes. However, timing is critical. If you harvest too early, your potatoes might be too small. If you wait too long, they could become overripe or susceptible to rot.
Signs That Potatoes Are Ready to Harvest
You’ll know it’s time to harvest when the leaves begin to yellow and die back. This indicates that the plant is no longer producing new tubers, and the potatoes are ready to be dug up.
How to Harvest
- Carefully Lift the Potatoes: Use a garden fork or spade to gently lift the potatoes from the soil, being careful not to damage the tubers. Start at the edge of the row and work your way in, lifting each plant one at a time.
- Post-Harvest Care: After harvesting, cure your potatoes by letting them sit in a cool, dry place for 1-2 weeks. This process helps toughen their skins, making them easier to store.
advertisement
Storing Your Potatoes for Long-Term Use
Proper storage is key to ensuring your potatoes last throughout the year. Here’s how to store them so they stay fresh.
Ideal Storage Conditions
Potatoes should be stored in a cool, dark, and dry location. The temperature should be between 45°F and 50°F. Avoid storing potatoes in the fridge, as the cold temperatures can convert starches into sugars, affecting their taste and texture.
Storage Containers
Use breathable containers like burlap sacks or wooden crates to store your potatoes. These allow for proper air circulation, preventing the buildup of moisture that could lead to rot.
Regular Checks
Inspect your stored potatoes every few weeks for signs of sprouting or rot. Remove any damaged or spoiled potatoes to prevent them from affecting the others.
Conclusion: Enjoy Your Homegrown Potatoes!
Growing potatoes is a simple and satisfying gardening endeavor that pays off in the kitchen. Whether you’re a beginner or experienced gardener, following these tips will help you grow a healthy, productive crop. So, roll up your sleeves, get planting, and in a few months, you’ll be enjoying the fruits of your labor.
Ready to Get Started?
Are you excited to grow your own potatoes? Start planning your potato garden today, and use the tips you’ve learned to ensure a successful harvest. Happy gardening!
By following the advice in this guide, you’ll be well on your way to growing a bountiful supply of fresh potatoes. Make sure to share your gardening journey with others and inspire fellow potato enthusiasts!


